Give a pocket hug coin to someone you love. It's a hug they can keep with them even when you're apart.
I think we can all agree that this last year has been crazy. It has been hard being apart from our family and friends when all we want is to be together.
Hopefully, things will get back to the new normal soon, but in the meantime, we can gift a hug coin.
You are probably asking what that is, so let me answer that question before we get into the tutorial.
Craft Tutorial Video:
What is a Pocket Hug Coin?
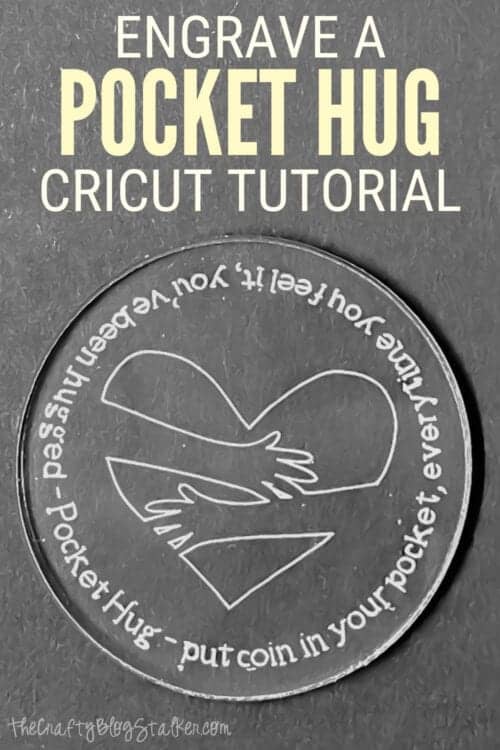
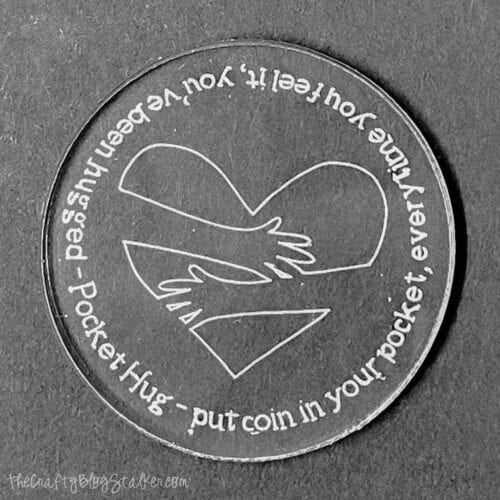
A pocket hug coin is a small coin you give to someone you want to hug and be close to, but for whatever reason, you can't.
They put that coin in their pocket, coin purse, or wherever really, and every time they feel it or see it they will think of you and know that you love them. It's a hug for the heart and mind without having to be together.
Isn't that sweet? Who do you want to give a pocket hug to?
Supplies You'll Need to Create this Project:
This post contains affiliate links.
- Pocket Hug Project in CDS
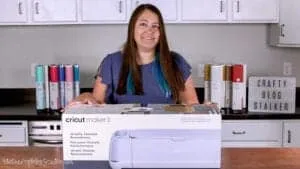
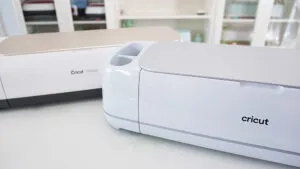
- Cricut Maker
- Engraving Tip and QuickSwap Housing
- Cardstock
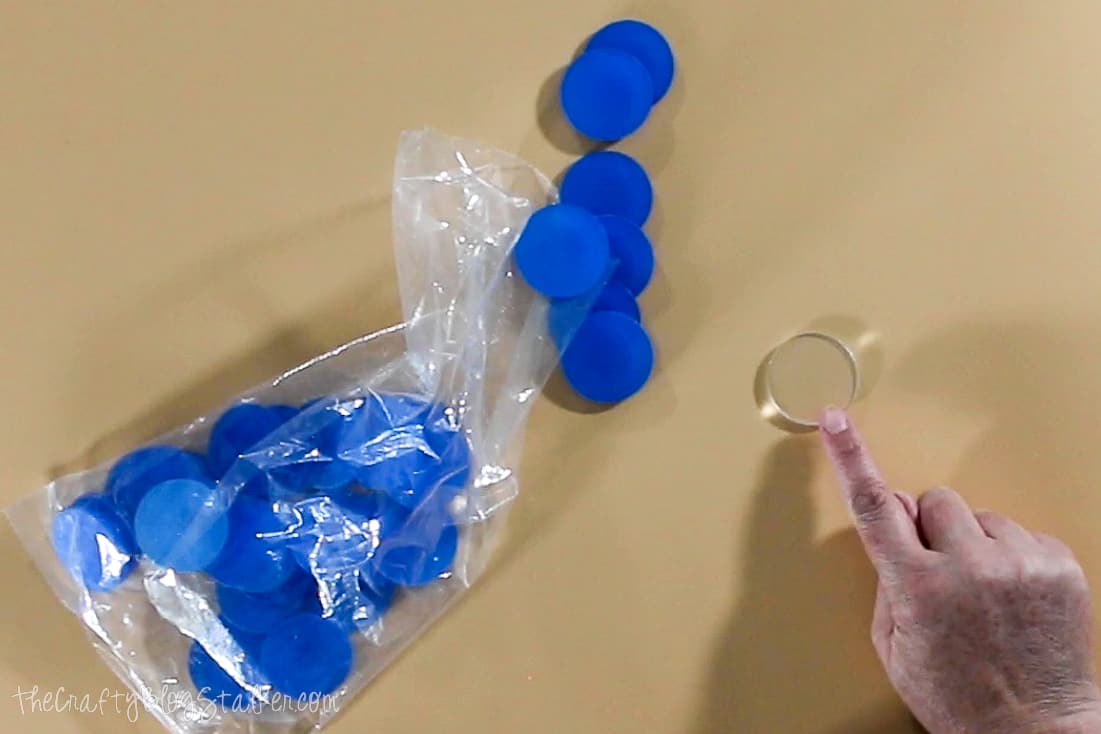
- 1.5" Acrylic Coins
- Painters Tape
Cricut Design Space:
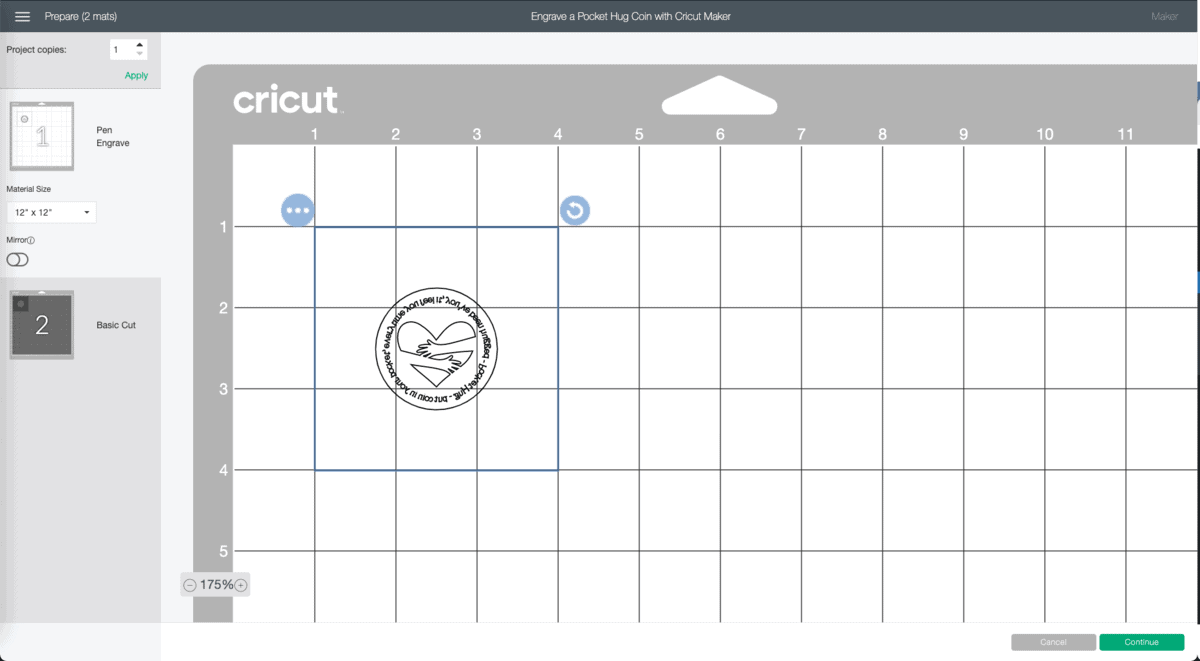
The cut file for this Pocket Hug Coin has been designed and is completely ready to go in Cricut Design Space.
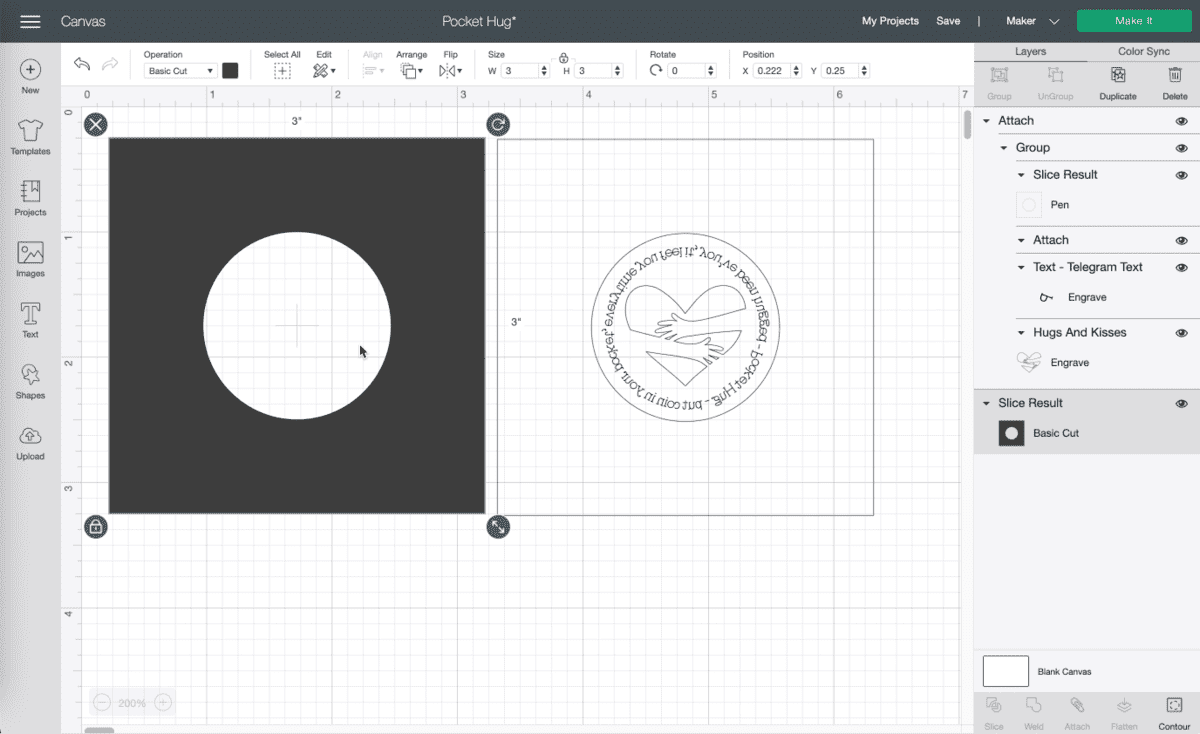
This design is sized to fit an acrylic coin with a diameter of 1.5 inches. You can resize it if you have a different-sized coin.
This design contains two layers, a card stock stencil, and the pocket hug coin we are going to engrave.
To create the design so everything is perfectly centered, I had to create a third layer, which is a pen or drawn layer. But you can ignore this layer. It is only there to make sure the engraved design is centered on the acrylic coin. Just don't put the pen in the maker, leaving the "A" latch empty and it won't affect the project.
Cut the cardstock layer first. This will be our stencil when placing the acrylic coin on the mat.
Engraving the Acrylic Coin:
When on Mat Preview in Cricut Design Space, place the coin design on the 1-inch line vertically and horizontally. Zoom in if you need to make sure you are exactly on those lines.
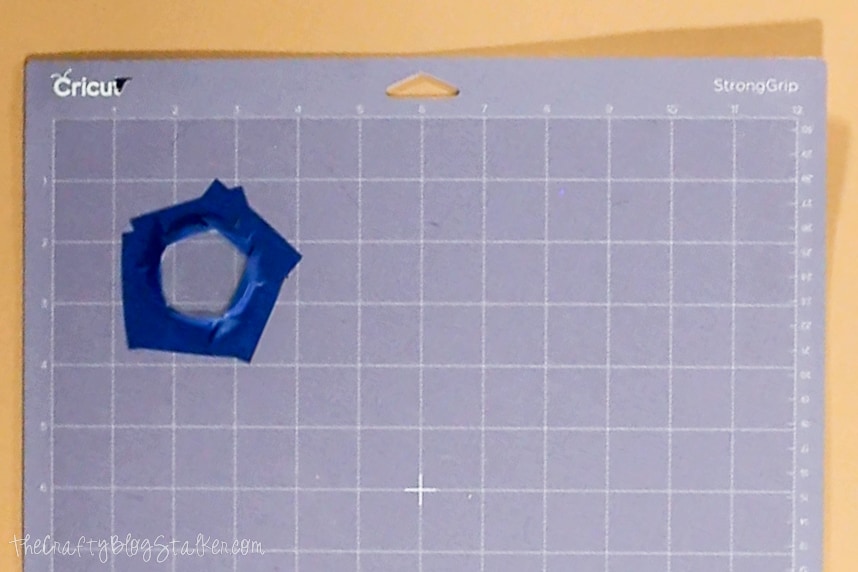
On the StrongGrip Mat place the cardstock stencil in the same place, on the 1-inch line vertically and horizontally
Place the acrylic coin in the hole of the stencil and press it into the mat.

Carefully peel back the stencil, leaving the coin in place.
Use strips of painter's tape, and tape the coin around the edges. Be very careful to only get the outer edge of the coin. You don't want tape where the machine is going to engrave.
This will keep the coin from shifting with the pressure of the engraving tip.
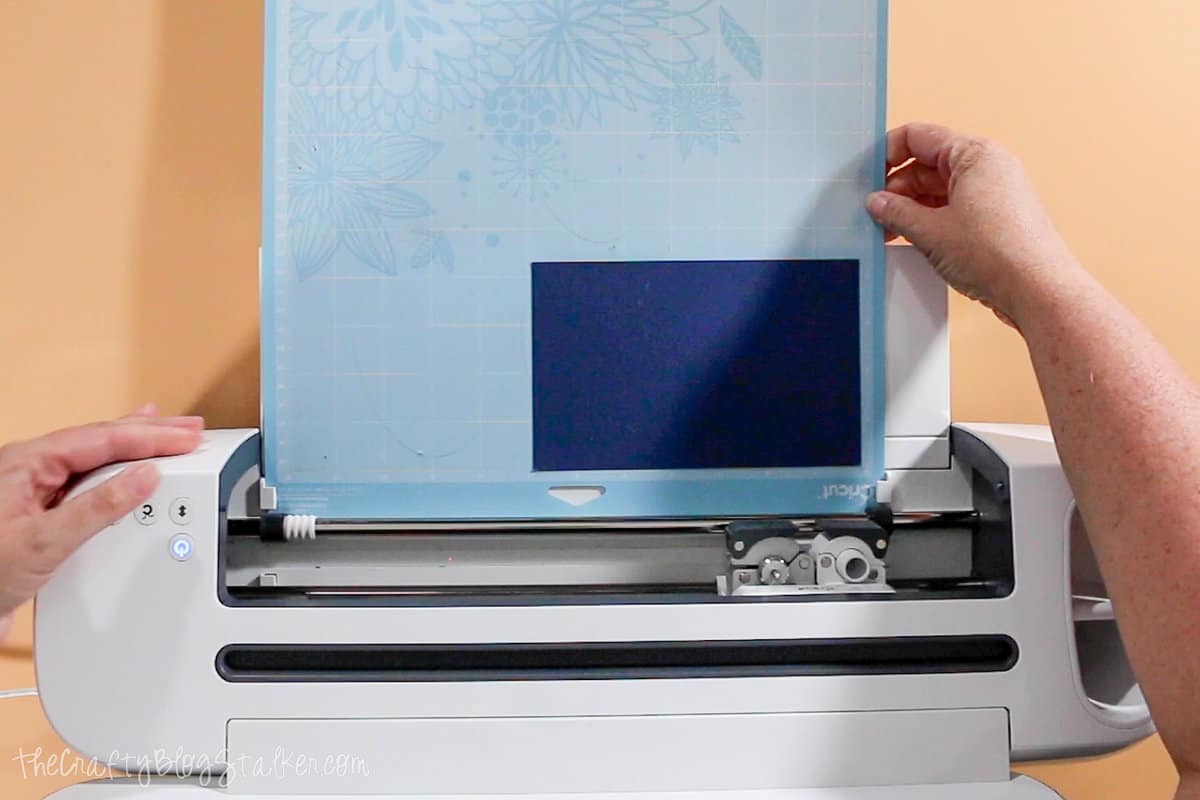
Place the Engraving Tip with QuickSwap Housing into the machine. Make sure all of the white rollers are pushed aside. Load the StrongGrip Mat and begin the engraving.
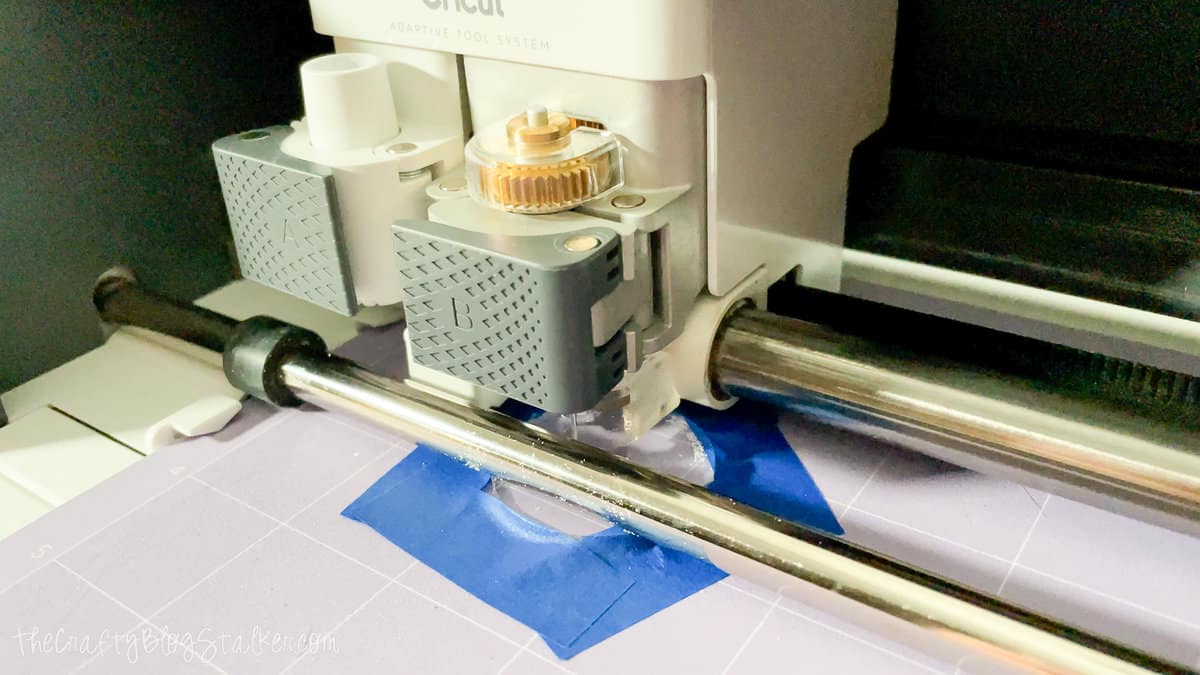
It takes about 3 minutes to engrave one coin.
Once the machine is done, unload the mat and remove the tape around the coin.
There will be some acrylic etching scraps around the coin and you can wipe it off easily with a rag.
We engraved the back of the coin with a mirrored design, don't worry the design is already mirrored so you didn't have to do anything. So you can easily read the front of the acrylic coin and it looks so cool!
Our Crafting Essentials:
- The Cricut Cutting Machine is easily our favorite crafting tool. We use it in so many of our tutorials!
- These MakerX Crafting Tools are perfect for keeping in the craft room and are always ready when needed!
- This Fiskars Paper Trimmer is easy to use and cuts nicely without frayed edges.
- These Scotch Precision Scissors cut like a dream, and you get multiple pairs in a pack!
Recommended Posts


Katie Adams
Creator at The Crafty Blog Stalker
- Easter Bunny Candy Holder with Free SVG
- Make the Stapler in Jello Prank
- 20 Free Valentine's Day SVG Cut Files
- 23 Cricut Classroom Valentine Cards
- Personalized Cutting Board to Give as a Gift
- 20 Personalized Wedding Gifts You Can Make With A Cricut
- The Most Popular Cricut Fonts & Combinations for Your Projects
- 20 Cute Graduation Money Gift Ideas
- How to Make a Personalized Etched Glass Wine Bottle
- How to Make a DIY Gift Card Box
- DIY Personalized Tumbler New Teacher Gift
- How to Print and Cut in Cricut Design Space
Leave a Reply