Transform any space with a DIY Mirror Wall! Follow our easy steps to install a stunning focal point that reflects your style.
Are you ready to add depth, style, and functionality to your space? Look no further!
In this comprehensive tutorial, we'll walk you through the step-by-step process of creating your very own stunning mirror wall.
Whether you're aiming to make a small room appear larger, brighten up a dark corner, or simply add a touch of elegance to your home, a mirror wall is the perfect solution.
Jump to:
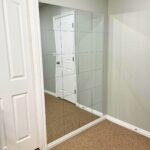
Current Situation:
This was my current bathroom mirror.
Yup. That is pretty sad and pathetic. I can do way better than that!
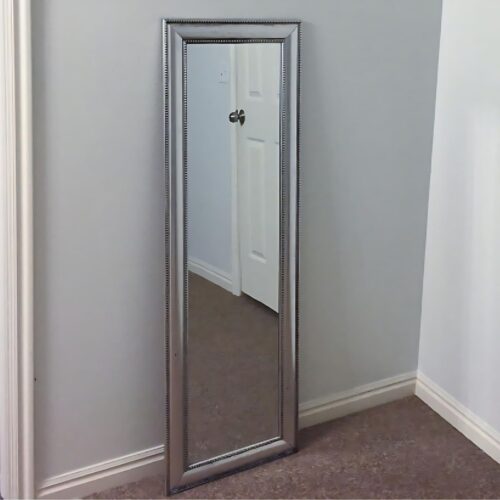
I wanted a single large mirror on this wall, but those are pricey and way out of my tight budget.
Supply List:
Links may go to similar items when exact items can't be found online. Help me continue to provide free tutorials by shopping my affiliate links. Please review our Privacy Policy.
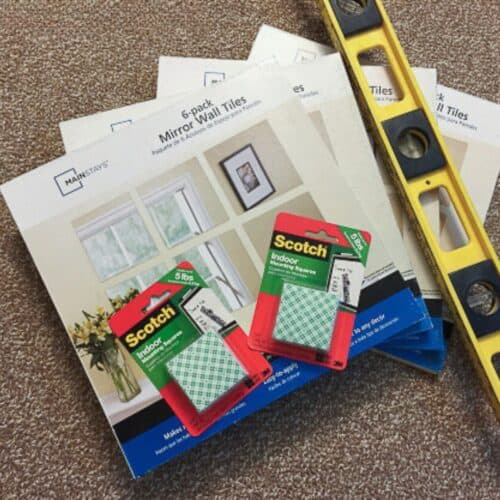
I opted for mounting tape because so there would be the option to remove the tiles later if I get tired of them.
Liquid nails, is another strong adhesive, although it is much more permanent.
Measure:
The first step is to make sure that the wall is actually straight against the door frame and floor.
If the wall bows, it can be more difficult to keep the tiles straight.
My wall is straight and without bowing, so I will line up the mirror tiles along the floor baseboard and door frame.
If your baseboards aren't level, move the bottom row of mirror tiles up a couple of inches to where you won't notice the uneven baseboards, and begin your mirror wall there.
Adhesive:
The next step is to add the double-sided adhesive and place one in each corner of the back of the mirror.
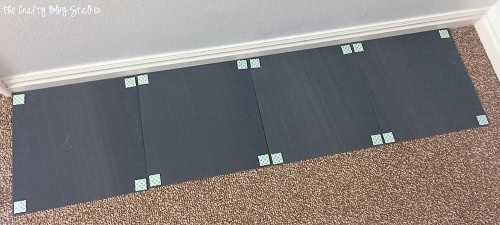
I prepped one row at a time, to save on space.
Install:
One tile at a time, peel the backings of the mounting squares and press the mirror tile onto the wall.
I have texture walls and the tape sticks great.
Working from the bottom up, I added my mirror tiles, one row at a time.
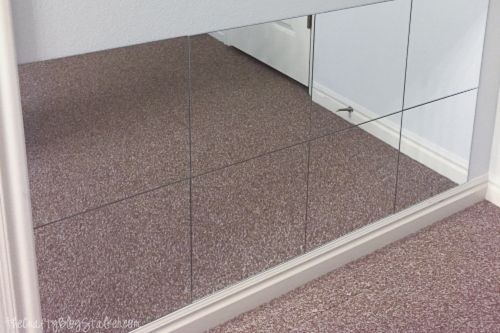
The next eight mirror panels are up, and it is looking awesome already!
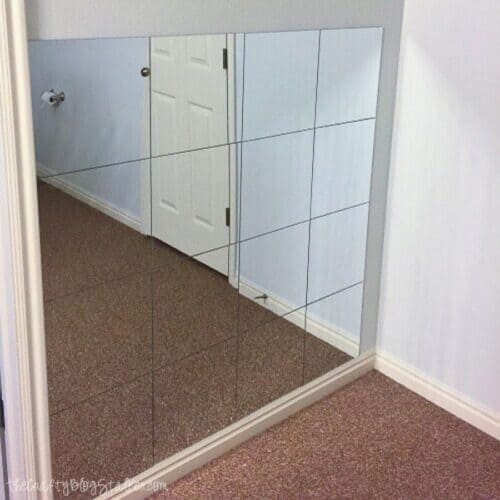
Then add the last two rows.
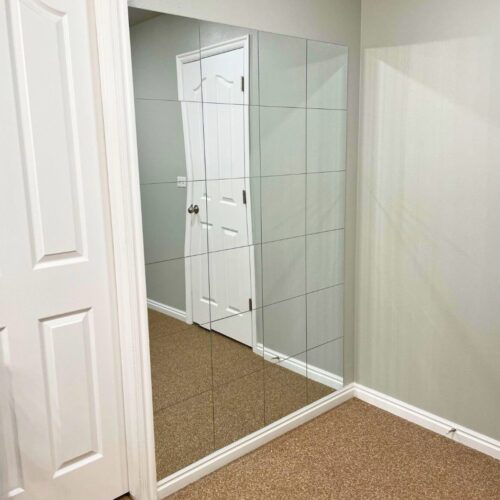
My DIY project has 24 mirror tiles, measures 4x6 feet, and took about an hour to install.
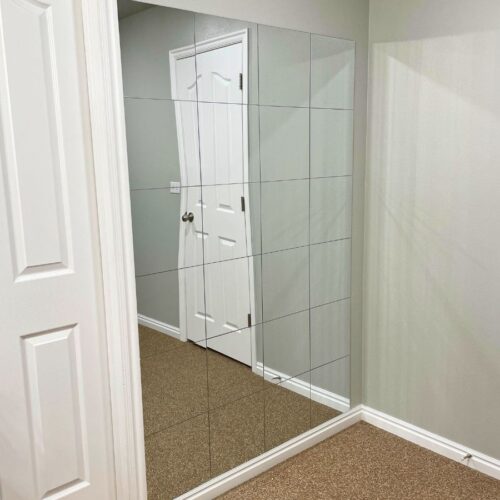
My simple mirror wall looks awesome!
But then I noticed something...
The toilet is right across from the new mirrors!
Oops! Why didn't I notice that before? 🤣
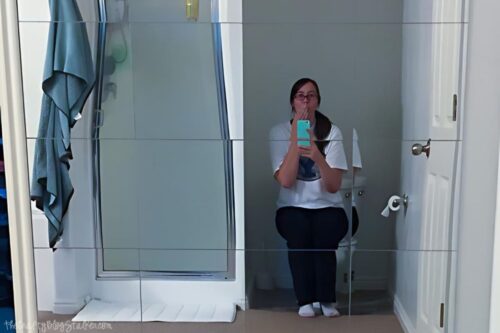
Oh well, I am not going to change it now.
This just means I just have a better view of hubby when he is in the shower!
Variations:
If you wanted the mirror wall to be more of a focal point then a useful mirror, you could also leave a gap between the mirrors.
Apply painting tape to the wall between tiles, to keep a uniform gap. Then peel the tape once your wall is complete!
Frequently Asked Questions:
The mounting squares I used are a heavy-duty adhesive that may be tough on walls when you go to pull them down.
To make them more easily removable and so they don't harm the walls, I would recommend Command Strips.
Apply four strips, one in each corner of the tile, and continue the tutorials as stated above.
When removing, start with the top row and go down. Once the mirror tiles have been removed, pull the tab on the command hook to remove from the wall.
Oh, there are so many fun options to have a mirrored wall decoration! Here are a few of my favorite places.
Bedroom, Dining Room, Living Room, Basement, Entryway, Home Gym, etc.
There are also many different patterns that the tiles could layed, you don't have to do rows. Make a checkerboard pattern, stripes, or just a sporadic assortment of mirrors. Make it a piece of art.
Yes, you can use Dollar Store Mirrors! The dimensions of dollar tree mirrors are usually much smaller, but you could definitely use this technique to hang them!
This is an inexpensive way to get the look for much less!
To clean a mirror wall, simply use glass cleaner. Spray a little onto the mirrored surface and wipe it down with a paper towel or dry rag. That's it, you're done!
Final Thoughts:
You may have noticed from some of the pictures above, that the reflection is a bit wonky along the edges of the mirror tiles.
This is because it isn't one big mirror, but made of 24 smaller mirrors.
The reflection isn't as bad when standing directly in front of it, but it also isn't perfect.
If you are using this as your main mirror, I suggest hanging a larger mirror the appropriate size for your space.
DIY Mirror Wall
Materials
- 24 12x12 inch Mirror Tiles
- Mounting Squares
Instructions
Measure:
- The first step is to make sure that the wall is actually straight against the door frame and floor.
- If your baseboards aren't level, move the bottom row of mirror tiles up a couple of inches to where you won't notice the uneven baseboards, and begin your mirror wall there.
Adhesive:
- The next step is to add the double-sided adhesive and place one in each corner of the back of the mirror.
Install:
- One tile at a time, peel the backings of the mounting squares and press the mirror tile onto the wall.
- Working from the bottom up, add the mirror tiles, one row at a time.
Notes
Our Crafting Essentials:
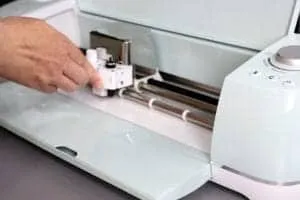
- The Cricut Cutting Machine is easily our favorite crafting tool. We use it in so many of our tutorials!
- These MakerX Crafting Tools are perfect for keeping in the craft room and are always ready when needed!
- This Fiskars Paper Trimmer is easy to use and cuts nicely without frayed edges.
- These Scotch Precision Scissors cut like a dream, and you get multiple pairs in a pack!
Recommended Posts


Katie Adams
Creator at The Crafty Blog Stalker
- St. Patrick's Day Layered Paper Art with Cricut
- Poké Ball Clock with a Free Laser Cut File
- How To Frame Diamond Art in 4 Easy Steps
- 34 DIY Yarn Wall Hanging Crafts
- Seal a Diamond Painting and What Sealant to Use
- How to Glass Etch a Picture Frame
- How to Distress Acrylic Paint on Wood Frame
- Hanging Wall Art Tutorial
- How to Make Paper Flower Shadow Box Decor with Cricut
- How to Use a Scorch Marker for Wood Burning Art
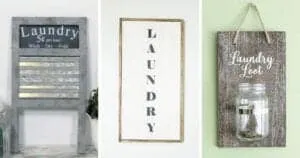
- 20 DIY Laundry Room Signs for Wall Decor
- How to Make a Painted Cork Board - Crafts for Kids
Christina at SWEET HAUTE
Katie! I love this, great work!!! Such a cute photo at the end....lol
Christina at SWEET HAUTE
by the way, forgot to mention...I have 2 of the 'lean' full length mirrors in the house but they aren't very chic or beautiful....just functional
angie
love it would be so pretty in any room
Karren Haller
Well you did a great job, makes for a brighter bathroom too!!! I am stopping by from Merry Monday party earlier this week and Now I have an invitation for you to stop by and link to yet another Party. Hope to see you soon, have a great week!!!
Have a great week!!!
Chels
Hi! I’m a renter but would love to do this project . Are the adhesives you used removable?
Katie
Yes, they are permanent. They need to be so they can hold the heavy mirror. Depending on the size and weight of the mirror squares you could probably find some removable mounting squares. Just pay attention to their weight limit.
Charlene@A Pinch of Joy
LOL!!! Haven't we all done something like this!? The mirror still looks great!
Paige
Bahhaha i love this! And it's hilarious that the toilet is directly across!!
Christine
LOVE this Katie!!!! Gabrielle has been asking for a mirror in her bedroom. I bet she'd love a mirrored wall.
Christie
This looks great! Where did you buy the mirrors for that great of a price?
Katie
I found them at walmart.
shar
Hi Katie!
Do you have a link to these mirrors? I cannot seem to locate them at walmart.com :((
Thanks!!!
Katie
When I purchased the mirrors they were on clearance, so it doesn't surprise me that they no longer carry them. I did find some equivalents they just aren't as cheap.
1 square beveled mirror
12-inch square set of 10
I hope that helps!
Pedro
Very good Katie, you are a smart girl
Tiffany
Hi Katie! I would love to do this in my apartment bedroom. I have one question, though! In the last (hilarious) photo, the reflection looks a bit distorted... Am I correct? I just want a smooth finished product; a distorted reflection would just drive me nuts! I hope for your honest feedback. 🙂 Thank you for the great idea!
Katie
Since the wall is made up of several smaller mirrors you can get a bit of a distorted reflection. If you wanting more of a solid reflection you would probably want to go with a larger one piece mirror.
catherine
I have to laugh because we have a large mirror in our bathroom that is in the same spot...across from the toilet. We have been trying to figure out how to get rid of it, without damaging the wall. Unlike you, they glued the sucker to the wall. Maybe a curtain to cover it. I don't know, but I have had some strange conversations with guests after their first use of our bathroom, lol.
Katie
oh no! LOL That is too funny. I would definitely feel more weird about it if it was a bathroom that guests use.
Elle Harris
I love this wall! I think i'd even attempt this and add crown Moulding to make it look like the wall came that way. I'm definately Inspired!
Katie
I love that idea Elle! I would love to see your finished pictures.
Hannah
How did you keep the mirrors from falling down? In the past, I used mounting tape and mirrors but they came off the wall and shattered! So, thinking that mounting tape wouldn't work I recently put together 6 mirrors on a thin wooden board with hot glue. Super hot glue. Works too well. One broke and I had to replace it. Took an hour to break and pull up all shards from hot glue and wood splintered it was so adhered. Anyway my project is not working out. The replacement mirror is a tiny bit too wide for the space and I'm so frustrated. Looking at your project and how easy it was I am wondering if there was a way with mounting tape after all!?
Katie
I am sorry you are having problems with your mirror tiles, Hannah. I used the 3M Scotch Indoor Mounting Squares (Affiliate Link - http://amzn.to/2a00ulq) and I haven't had any problem with the sticking. I put one square in each corner of the tile. I hope that helps
Karen
The mirror squares were sold as decor in the 70s. My grandma has a bedroom wall still in her house. They had adhesive and you pressed them on the wall. I remember when she did It as I was there. Good revival.
Katie
Ha ha! Thanks Karen!
Sophy Sophy
Hi Katie! I wonder if you're still checking this! I have a question. I love your idea, but I have textured walls, and I don't think the scotch squares will adhere. Do you have any recommendations for my situation? Should I stick em up with caulk? Or grout? Or glue?
Katie
Hi Sophy! Great question! The wall I put my mirrors on do have a texture as well and the scotch squares are still holding strong. You could definitely use a caulk but that will make the mirror wall much more permanent.
Sophy Sophy
Really? Okay, I'll give the squares a shot then! I'll let you know if it turns out. Thanks again for the help. 🙂
Ann Benoit
I had a similar situation with a toilet and a mirror opposite and similar walls, ie your wall goes up to the ceiling on both sides. Easy-pease. Mounted a heavy duty shower STALL spring rod between the two walls and hung a curtain. Instant privacy and no more bad reflections.
Tonya baxter
A solution to seeing the toilet (and yourself on the toilet) is add a tension rod across that space and make a cute curtain...adds privacy and even more character
Jesse Sanchez
Hi, This looks amazing. I want to fix it on my bathroom wall. Can I do it In there?
Katie
Yes, you can! If your walls are textured the vinyl won't stick as well, but you can totally apply vinyl to walls!